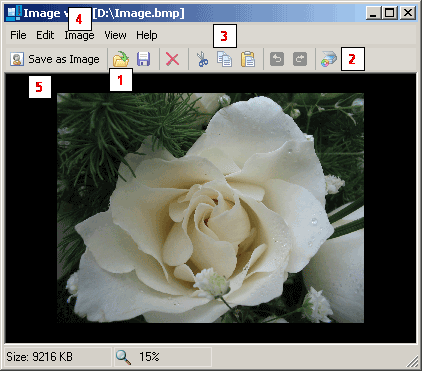
The Alive Organizer image editor allows you to load an image from the hard disk (1) or get it from the scanner (2). You can also paste an image from the clipboard using the copy and paste operation (3). It is possible to print any image and you can specify the number of additional print parameters (color, position on the sheet, etc.).
You can do some simple editing with any image loaded in the Alive Organizer image editor (4). In particular, you can change its color palette, switch to black and white, invert and resize it (crop it or reduce its size proportionally).
For example, resizing images is necessary when you are preparing a blog page to be published on the Internet. It often happens that the sizes of photos are too large for pages published on the Internet and you have to make them smaller. It is in this case that the Alive Organizer image editor will become your indispensable assistant.
It is really easy to save an image loaded in the Alive Organizer image editor to the corresponding document (in the text or as a photo, logo, etc.). Just click the "Save as an image" button or (if you are working with contacts) "Save as a photo" (5).